WISE
This manual describers how to connect a WISE module to a network.
Firstly, power supply must be connected to the WISE module. This is done with a 24V, positive charge on port "+Vs" and negative charge on port "-Vs", Ports are displayed at the bottom of the picture below.
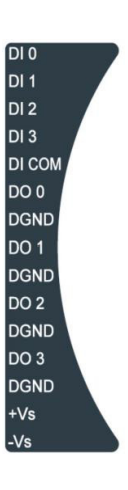
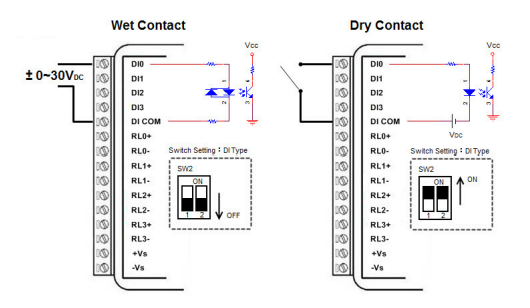
After power has been supplied to the WISE module, a connection to the Digital inputs needs to be established. The WISE Module supports up to four digital inputs for production counters, as seen in the picture below:
After the necessary physical connections have been established, configuration of the software is needed.
Step 1: Type the IP-adress of the WISE module into the browser. The IP-adress is found on the backside of the module
Step 2: Log in with the credentials found on the backside of the WISE module. It is more than likely that the username is "root" and the password is "00000000".
Step 3: If needed, update the firmware version (the latest version can be found on: https://www.advantech.com/en). Refresh the page and verify that the updated firmware has been properly installed.
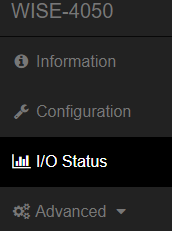
Step 4: To configure Click the "I/O Status" Tab on the left side of the page:
Change the settings to "Counter" on the "Channel" that are used. There are options to invert signal, use digital filter and to "Keep Last Value". Set these according to your preferences.
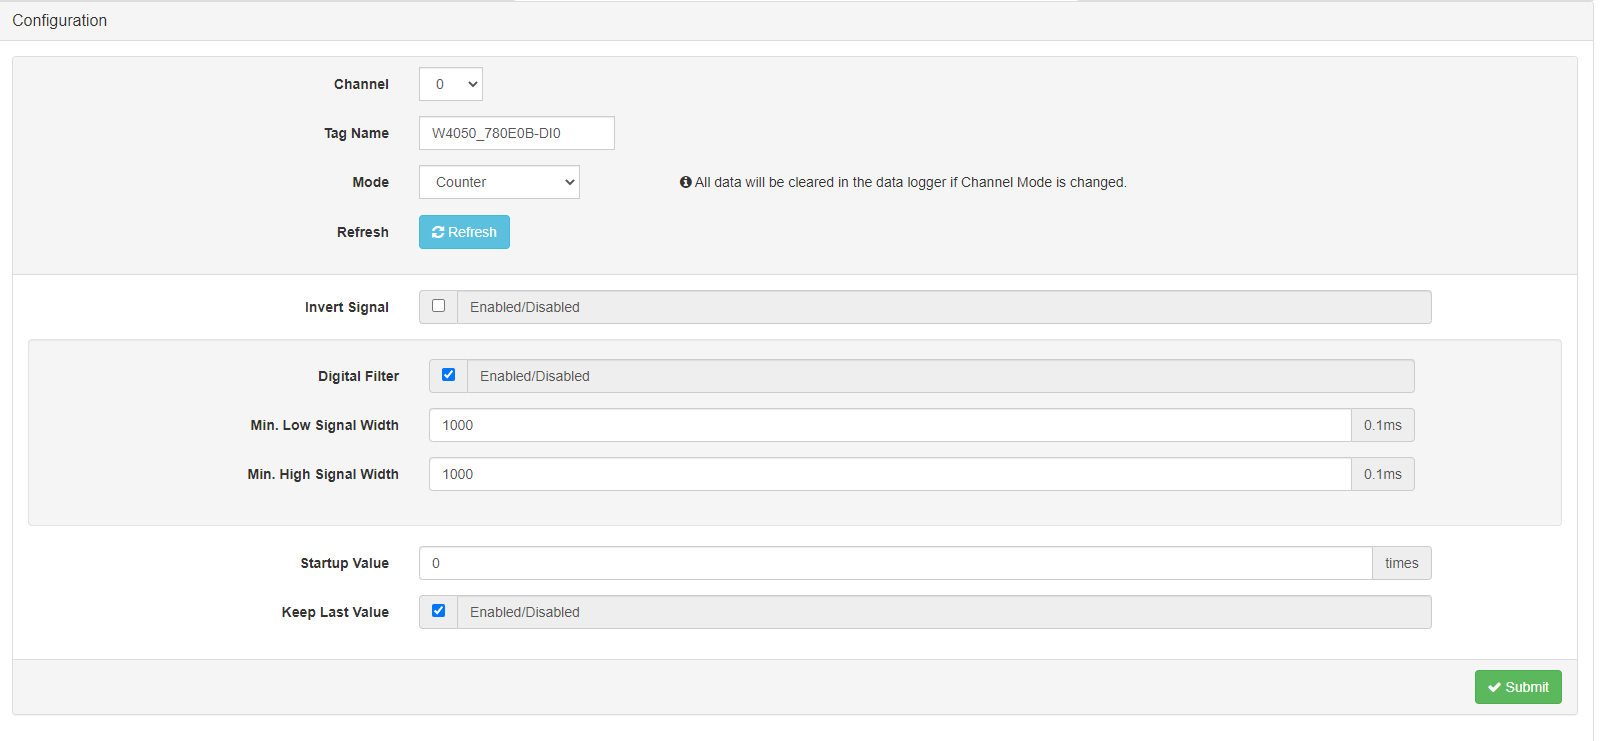 NOTE: If the WISE module is connected to a relay, set time interval depending on the pace of production. (do not set this value too low to ensure that the no false positives are registered)
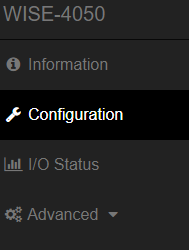
Step 5: Go to the Configuration tab:
Then "Wireless" column:

Change the Wireless settings to match the SSID that the rest of the IIOT units are on, and if needed, proviosion the WISE module in the network:
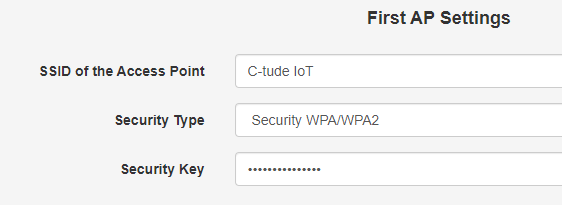
Validate that the SSID and Security Key are both correct. Then change the IP Mode from "Static" to "DHCP":

The WISE Module has now been configured and is ready to be put into to use into the production.